

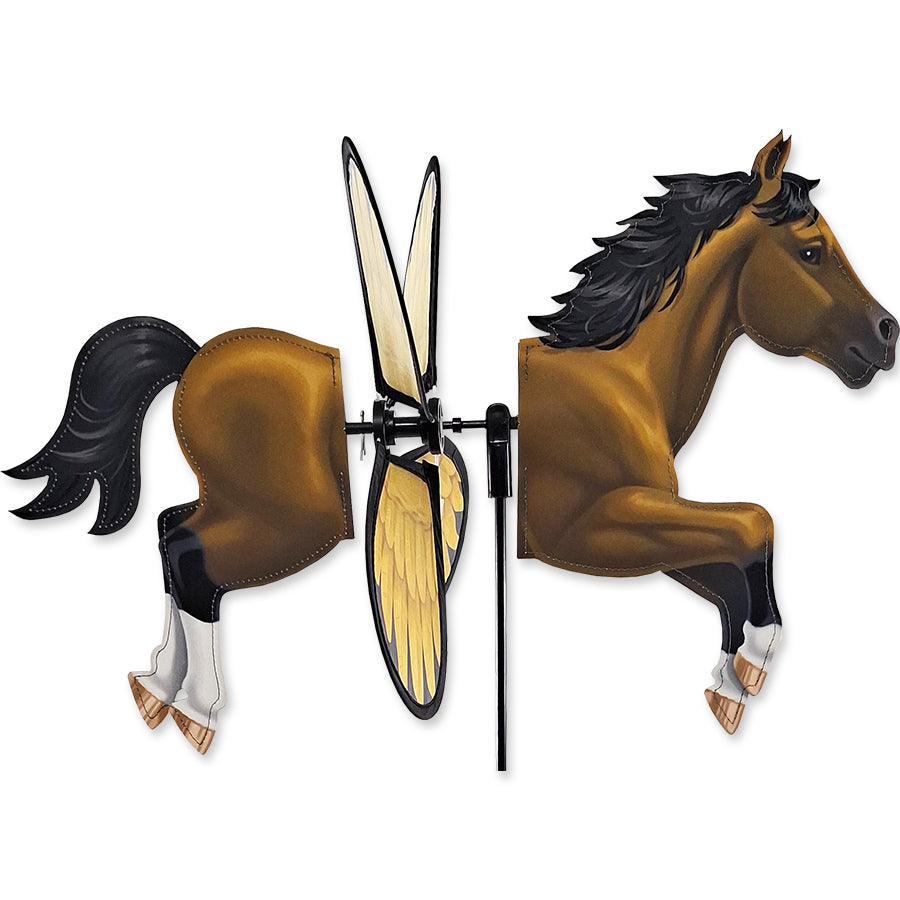
This guide covers assembly for the Premier Flying Lion Spinner. It follows the manufacturer’s instructions for connecting the body halves, installing the wing fins, and setting the spinner on the ground shaft.
Applies to: Flying Lion Spinner. See the 1 products this guide covers.
Assembly steps
Step 1: Install the Metal “T” Joint
Start by removing Small Fiberglass Rod taped to vertical part of Metal “T” Joint at back end of Wing Hub. Slide Metal “T” Joint into horizontal pocket on Back Body Half so that small ferrule located inside pocket fits into horizontal part of Metal “T” Joint.
The Front Body Half is on the wing hub side, and the Back Body Half connects to the opposite side. The ferrule sits inside the horizontal pocket of the Back Body Half, lined up with the horizontal part of the Metal “T” Joint.


Step 2: Insert the Small Fiberglass Rod
Slide Small Fiberglass Rod into opening of vertical pocket in Back Body Half, just above Metal “T” Joint. Fit uncapped end into vertical section of Metal “T” Joint and capped end into top of pocket.
The Small Fiberglass Rod goes down into the vertical pocket from the top of the Back Body Half. When it is seated, the uncapped end is in the vertical section of the Metal “T” Joint and the capped end remains at the top of the pocket.
Step 3: Attach the Wing Fins
Attach Wing Fins to Wing Hub. Please note that Wing Fins are inserted at an offset pattern. Make sure Wing Fins are fully inserted into hub holes. You will hear a “click” sound when the pins are all the way in.
Each Wing Fin Pin goes into a hub hole on the Wing Hub. The fins are offset from one another around the hub, not lined up in the same position.
Tip: If you make a mistake in the placement of the Wing Fins (i.e. backward, wrong color sequence etc.), you can remove them by carefully inserting a small flat end screwdriver between the base of the Wing Fin Pin and the hub and pushing it up and out.

Step 4: Set the spinner on the ground shaft
Drive Ground Stake into ground. Slide Ground Shaft into Ground Stake. Slide Main Hub Assembly with Flying Lion over Ground Shaft Ferrule. If you desire extra height, add extra ground shaft included in this package.
The Ground Stake goes into the ground first, with the Ground Shaft standing upright from it. The Main Hub Assembly with the Flying Lion sits over the Ground Shaft Ferrule at the top of the shaft.

Care note
Although your Garden Spinner is constructed with UV resistant SolarMax fabric, to preserve its durability, we recommend taking spinner inside during harsh weather or when not in use.
 Flying Lion Spinner
Share:
Flying Flamingo Spinner Assembly Instructions
Flying Vampire and Bumble Bee Spinner Assembly Instructions