

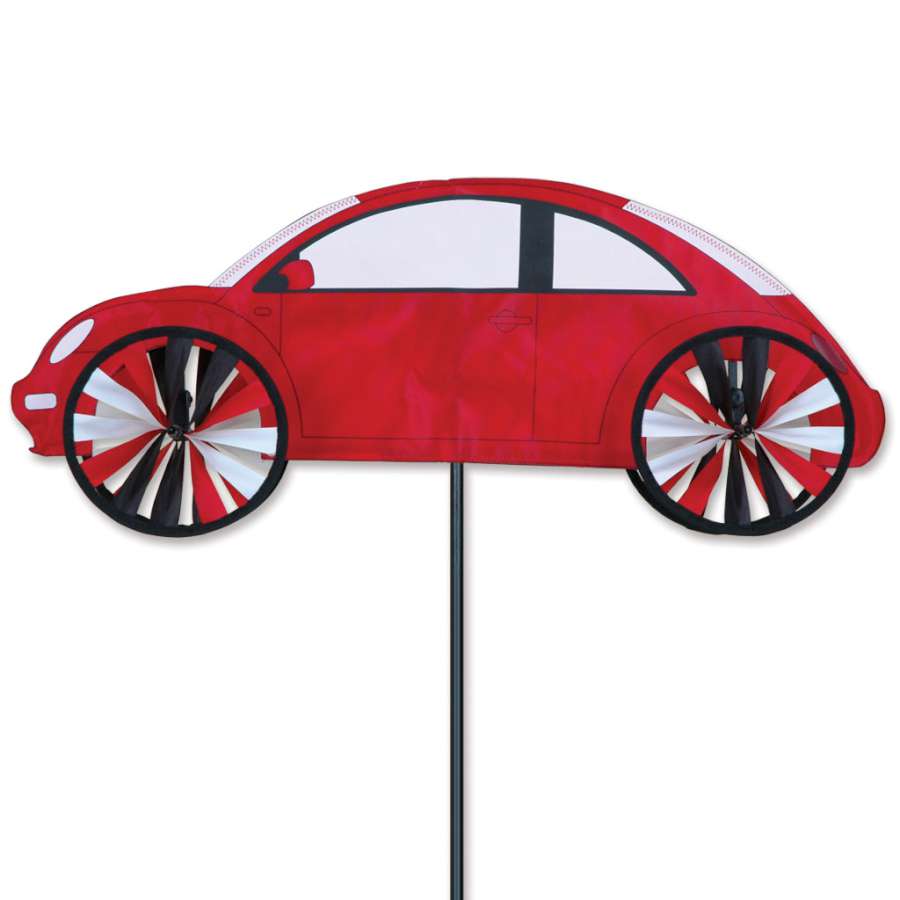
This guide covers assembly for the Premier 20 in. Zombie WhirliGig Spinner. It shows how to install the spinner axle, spinner sets, support pole and ground stake.
Applies to: 20 in. WhirliGig Spinner - Zombie. See the 1 products this guide covers.
Assembly
Step 1: Slide the spinner axle through the frame
Slide the long side of the Spinner Axle through the Frame. The ends of the Axle should be equally far from the WhirliGig Body. (Diagram A)
The inset marks 3.5" on each side, with the WhirliGig Body centered between the two ends.

Step 2: Add the spinner sets, washers, spacer and end caps
Set the Spacer, two Washers and one spinner set aside. Slide one Washer onto the side of the Axle with the Stops. Decide which way you want the arms to face and slide one set onto the Axle followed by the remaining Washer. Carefully pound the End Cap onto the Axle. Repeat with the remaining parts on the other side of the Axle, making sure to place the Spacer closest to the WhirliGig Body. (Diagrams B & C)
On the side with the Stops, the washer goes on before the spinner set and another washer goes on after it. On the other side, the Spacer sits closest to the WhirliGig Body before the spinner set is added.

Step 3: Insert the upper support pole into the hub
Slide the narrow, plastic tipped end of the Upper Support Pole into the Star Lock Hub by passing through the opening in the fabric in the leg of the zombie. Insert your hand into the opening of the fabric on the side of the zombie to help guide the pole. Push down on the hub until the Support Pole locks into place and can not be removed. (Diagram C and D)
The support pole enters through the opening in the zombie’s leg and lines up with the Star Lock Hub inside the body. The Assembly Access Opening on the side gives your hand a place to guide the pole into the hub hole.
Tip: To make insertion process easier, place bottom of Support Pole on a hard, flat surface and push down on Star Lock Hub. Use Assembly Access Opening to insert hand to visually guide the support pole into hub hole.

Step 4: Install the ground stake and support poles
Drive Ground Stake into ground and insert the non-ferruled end of the Lower Support Pole. Insert the Upper Support Pole of assembled WhirliGig Spinner into the ferrule. (Diagram E)
The Ground Stake sits in the ground below the Lower Support Pole. The ferrule is at the top of the Lower Support Pole, and the Upper Support Pole slides down into it.

Care and storage
Please note: It is recommended that you take your WhirliGig Spinner inside during storms and harsh weather to preserve its durability.
 20 in. WhirliGig Spinner - Zombie
Share:
20 in. Bike Spinner Assembly Instructions
21 ft. Skeleton Kite Assembly Instructions