

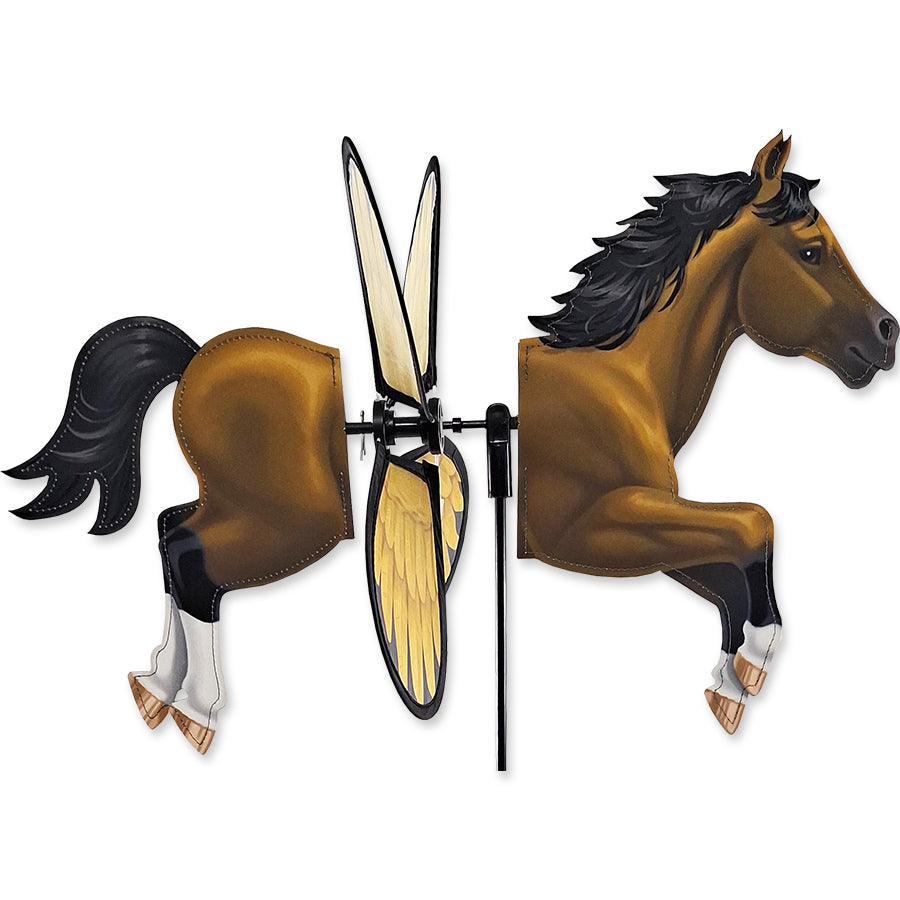
This guide covers assembly for Premier 4 Legged WhirliGig Spinners in the dog and alligator designs. It includes the axle, spinner set, support pole, and ground stake steps for the smaller and large versions.
Applies to: 15 in. Tan Pug, 16 in. Schnauzer, 20 and 28 in. Dachshund, and 21 and 30 in. Alligator WhirliGig Spinners. See the 6 products this guide covers.
Product sizes
| Product | Size (W x L) |
|---|---|
| Tan Pug | 14.5 in. x 8.5 in. |
| Schnauzer | 16 in. x 7 in. |
| 20 in. Dachshund | 20 in. x 8.5 in. |
| 21 in. Alligator | 21 in. x 3.5 in. |
| 28 in. Dachshund | 28 in. x 12.75 in. |
| 30 in. Alligator | 30 in. x 5 in. |
Assembly
Step 1: Install the front axle
Slide the longer side of one of the Axles through the Front Leg T-Fitting until the glued stops are touching the T-Fitting. This should make the ends of the Axle equally far from the WhirliGig Body. (Diagram A)
The Spinner Axle is the straight rod with the Stops grouped near one side. The axle is centered through the WhirliGig Body, with 2.5” on each side (Diagram A).

Step 2: Add the front spinner sets
Identify the Front Legs and separate them along with one Spacer, four Washers and two End Caps. Slide one Washer onto the side of the Axle with the Stops. Carefully position one Front Spinner Set onto the Axle as shown followed by the remaining Washer. Carefully pound the End Cap onto the Axle. Repeat with the remaining parts on the other side of the Axle, making sure to place the Spacer closest to the WhirliGig Body. (Diagrams B & C)
On the side with the Stops, the Washer goes on before the Spinner Set, and another Washer and End Cap finish the outside end. On the other side, the Spacer is the part closest to the WhirliGig Body.

Step 3: Add the back leg spinners
Repeat Steps 1 & 2 with the Back Leg Spinners and the remaining Axle, Spacer, Washers and End Caps.
Use the same order of parts for the back leg axle. The remaining Axle, Spacer, Washers and End Caps are used on the Back Leg Spinners.
Step 4: Attach the support pole
Slide the narrow, plastic tipped end of the Support Pole into the Star Lock Hub. Push down on the hub until the Support Pole locks into place and cannot be removed. (Diagram C)
The Star Lock Hub is on the underside of the WhirliGig Body. Push the Star Lock Hub firmly onto the Plastic Tip of the Support Pole.
Tip: To make insertion process easier, place bottom of Support Pole on a hard, flat surface and push down on Star Lock Hub.

Step 5: Set the spinner on the ground stake
For the 15, 16, 20, and 21 in. spinners, drive Ground Stake into ground and insert the non-ferruled end of the Lower Support Pole. Insert the Upper Support Pole of assembled WhirliGig Spinner into the ferrule. For the 28 in. Dachshund and 30 in. Alligator, drive Ground Stake into ground and insert the Support Pole of assembled WhirliGig Spinner into the ground stake. (Diagram D)
For the 15, 16, 20, and 21 in. spinners, the Lower Support Pole goes onto the Ground Stake first. The Upper Support Pole from the assembled WhirliGig Spinner fits into the ferrule at the top of the Lower Support Pole. For the 28 in. Dachshund and 30 in. Alligator, the Support Pole of the assembled WhirliGig Spinner fits into the ground stake.
Tip: 28 in. Dachshund and 30 in. Alligator: drive Ground Stake into ground and insert the Support Pole of assembled WhirliGig Spinner into the ground stake.

Weather note
PLEASE NOTE: It is recommended that you take your WhirliGig Spinner inside during storms and harsh weather to preserve its durability.
Products this guide covers
 15 in. WhirliGig Spinner - Tan Pug
 16 in. WhirliGig Spinner - Schnauzer
 20 in. WhirliGig Spinner - Dachshund
 21 in. WhirliGig Spinner - Alligator
 28 in. WhirliGig Spinner - Dachshund
 30 in. WhirliGig Spinner - Alligator
Download the original manuals
Premier prints a manual for each design; the steps are the same apart from the differences noted above.
Share:
3D Shark Kite Assembly Instructions
40 in. New Holland Tractor Spinner Assembly Instructions