

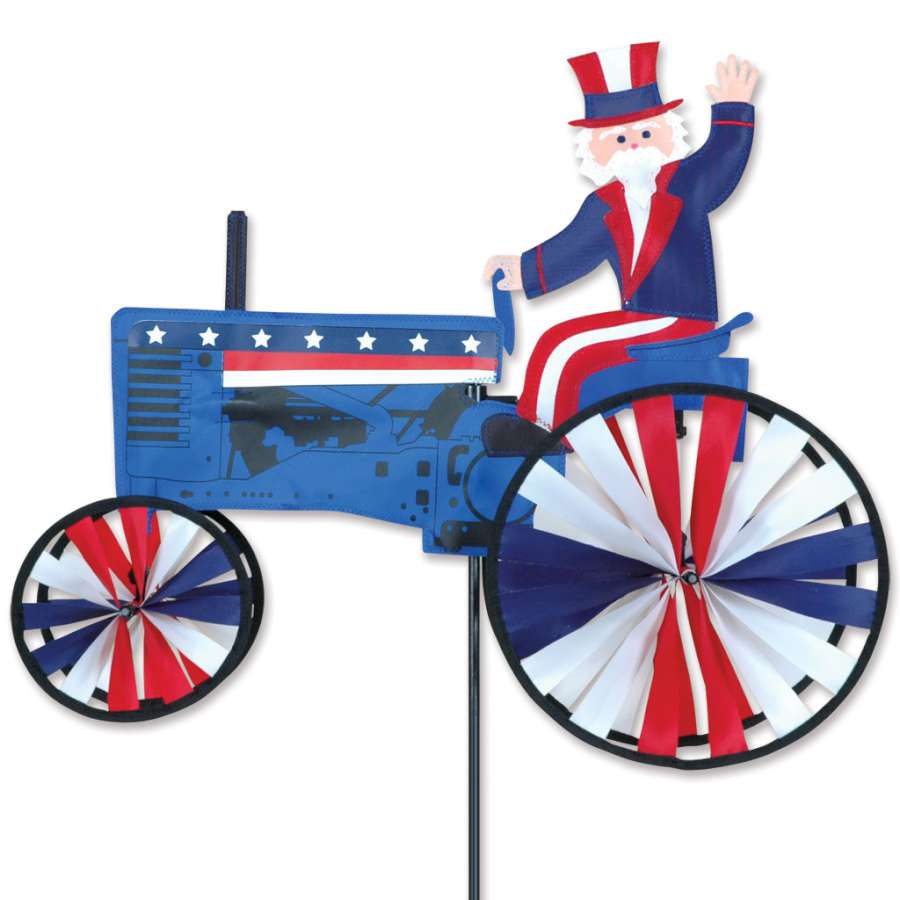
This guide covers assembly of the Premier Large Patriotic Windmill, a windmill spinner that is 48 in. x 45 in. Follow the steps to assemble the sail, spinner wheels, mast pole sections and ground stake.
Applies to: Large Patriotic Windmill. See the 1 products this guide covers.
Assemble the sail and spinners
Step 1: Hook the rear sail spreader rod
Hook ends of Rear Sail Spreader Rod into loops at rear edges of Sail. (diagram A)
The Rear Sail Spreader Rod runs along the rear edge of the sail. One end fits into the upper loop and the other end fits into the lower loop.

Step 2: Fit the rear horizontal support rod
Slide ferruled end of Rear Horizontal Support Rod through Reinforced Hole at rear of Sail and fit into ferrule at rear of Front Horizontal Support Rod (diagram A). Hook Arrow Nock on rear end of Rear Horizontal Support Rod onto Rear Sail Spreader Rod. Rear Sail Spreader Rod should snap securely into Arrow Nock. (diagram B)
The ferruled end is the end shown toward the Front Horizontal Support Rod; the Arrow Nock stays at the rear of the sail. When this step is complete, the ferrules are fitted together and the Rear Sail Spreader Rod is held in the Arrow Nock.

Step 3: Complete the three spinners
Complete the three Spinners by inserting the two unattached spokes of each Spinner into the two empty holes in each Blade Hub. (Spinners come with four of six Spokes pre-inserted and glued into holes.) (diagram C)
Each spinner has a “FRONT” label that says, “THIS SIDE MUST FACE TO THE WIND.”

Weather note
Please note: Although your Windmill Spinner is constructed with UV resistant SunTex™ fabric, it is recommended that you take it inside during storms and harsh weather to preserve its durability.
Add the wheels and mast
Step 4: Slide on the spinner wheels and hardware
Slide the Spinner Wheels, Spacers, Stoppers and End Cap onto the Front Horizontal Support Rod in the order shown below. Be sure to leave a small amount of space between each piece. Tighten the Metal Stoppers with the enclosed Allen Wrench. (diagram D)
The spinner wheels are arranged Large Spinner Wheel, Medium Spinner Wheel and Small Spinner Wheel as you move outward along the Front Horizontal Support Rod. Starting at the Fixed Stopper, the sequence is Long Metal Spacer, Large Spinner Wheel, Metal Stopper, Short Metal Spacer, Medium Spinner Wheel, Metal Stopper, Short Metal Spacer, Small Spinner Wheel, Plastic Stoppers and End Cap. Each wheel has a front label saying this side must face to the wind.

Step 5: Install the ground stake and mast
Pound Ground Stake into ground and insert non-ferruled end of Mast Pole Section. Insert non-ferruled end of second Mast Pole Section into ferrule on top of first Mast Pole Section. Insert bottom of Mast Segment of completed Large Windmill into ferrule on top of second Mast Pole Section. (diagram E)
The mast is built from two Mast Pole Sections above the Ground Stake. The ferrule joins the pole sections, and the bottom of the Mast Segment of the completed Large Windmill inserts into the ferrule on top of the second Mast Pole Section.

 Large Patriotic Windmill
Share:
Kachina Kite Assembly Instructions
Large Triple Spinner Assembly Instructions